The Ultimate Home Renovation Planner

Renovation projects can take anywhere from a few weeks for a small room to 12-18 months for larger rooms or commercial undertakings. Between designing, hiring contractors, obtaining permits, and managing any inevitable setbacks, it's easy to get overwhelmed and overlook critical steps amidst such a broad home renovation timeline and checklists. Therefore, proper planning is essential to ensure the best possible results for your project.
To help simplify the planning of your next project, we’ve outlined the five key stages for a basic home renovation timeline. This guide will help you plan your next project with confidence and clarity, ensuring each key renovation step is considered. However, it’s important to note that each project is unique and that factors such as complexity, material availability, and unforeseen delays can extend a project’s timeline.
The 5 Stages of a Reno Timeline
Stage 1: Designing, Planning, and Permits
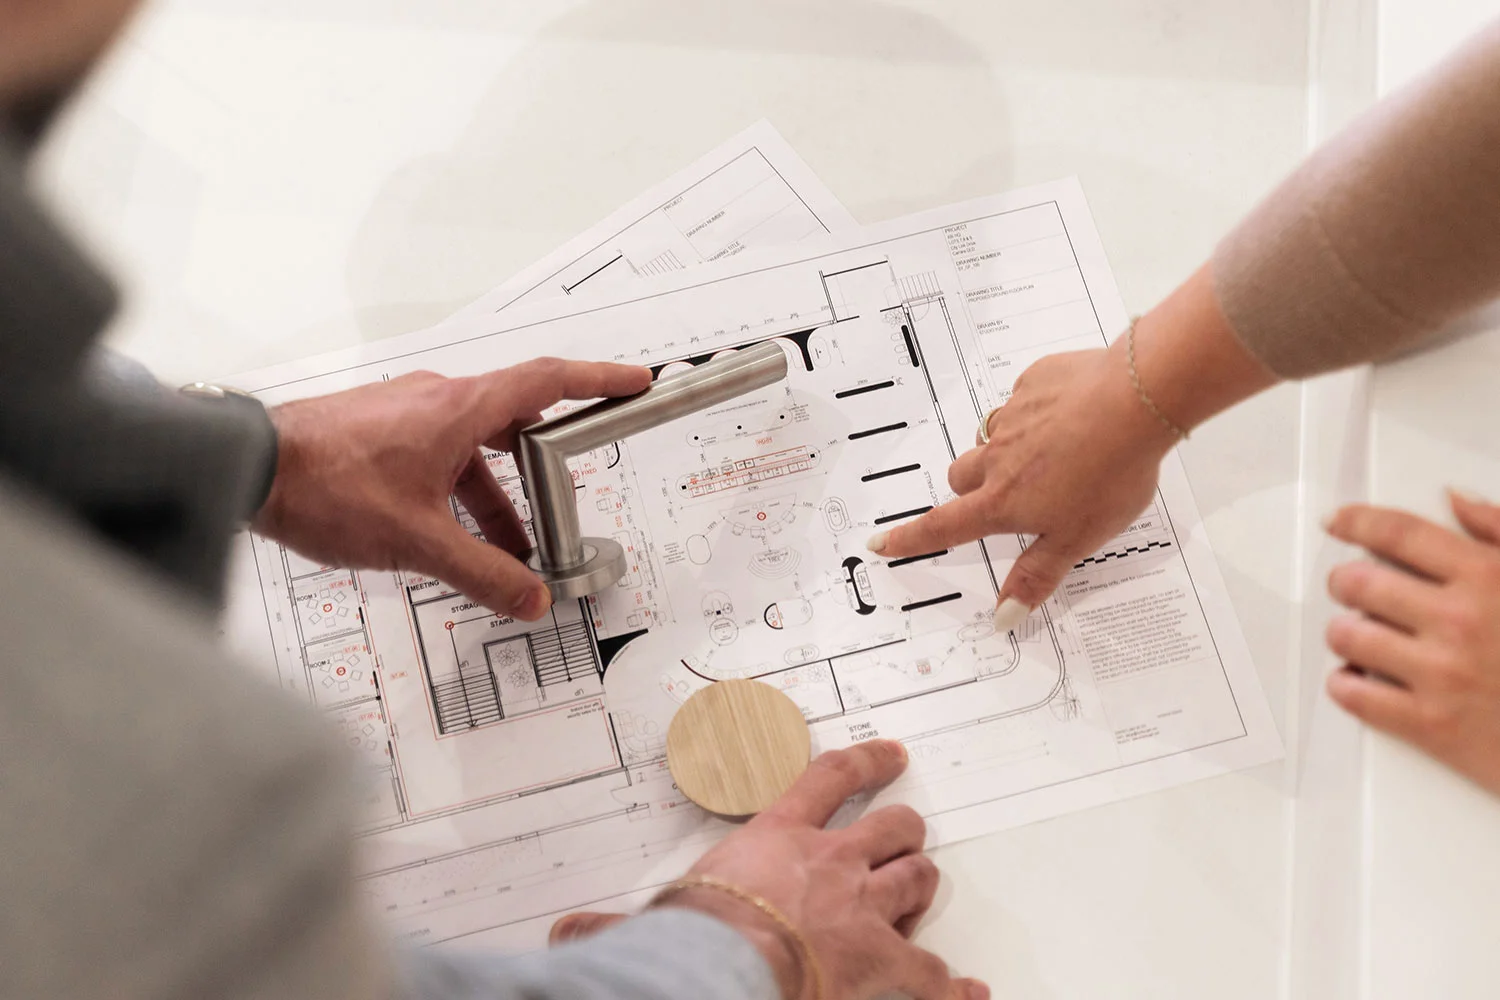
The first of your renovation steps is conceptualising your vision — deciding which rooms to renovate and the extent of these renovations. This can involve gathering inspiration from Pinterest, window-shopping, or drafting a preliminary floor plan and can take anywhere from one to three months, depending on the project.
Once you have a general idea of the renovations, Ricky Allen, Director and Interior Designer at Ever Wallpaper, emphasises consulting with various contractors or interior designers in order to choose the right fit for your project.
“This upfront work is essential to set the project up for success,” says Ricky. “In my experience, having a detailed plan and a trustworthy contractor can make all the difference in staying on track.”
“The next step is to bring in the right team to execute the vision,” agrees James Heartquist, owner of Modern Property Solutions. “Ensure they have a track record of quality workmanship and reliability… selecting materials and finishes that will resonate with buyers while also keeping an eye on the budget.”
If you're tackling a renovation yourself, take advantage of free design services like our design consultations to get expert advice on your ideas.

Another crucial step in the first stage of your reno timeline is ensuring you have all the relevant permits and approvals before starting construction. This may involve submitting plans to local authorities or having your contractor organise the necessary assessments. "Dealing with the bureaucratic side of things can be unpredictable, but it's a necessary part of the process," stresses James.
It's also crucial to consider the estimated shipping times for specific materials or furniture during this initial stage to ensure they arrive on time. Gather all necessary information before ordering to ensure everything aligns with the overall schedule, especially if items are needed as early as the rough-in stage.
Stage 2: Demolition
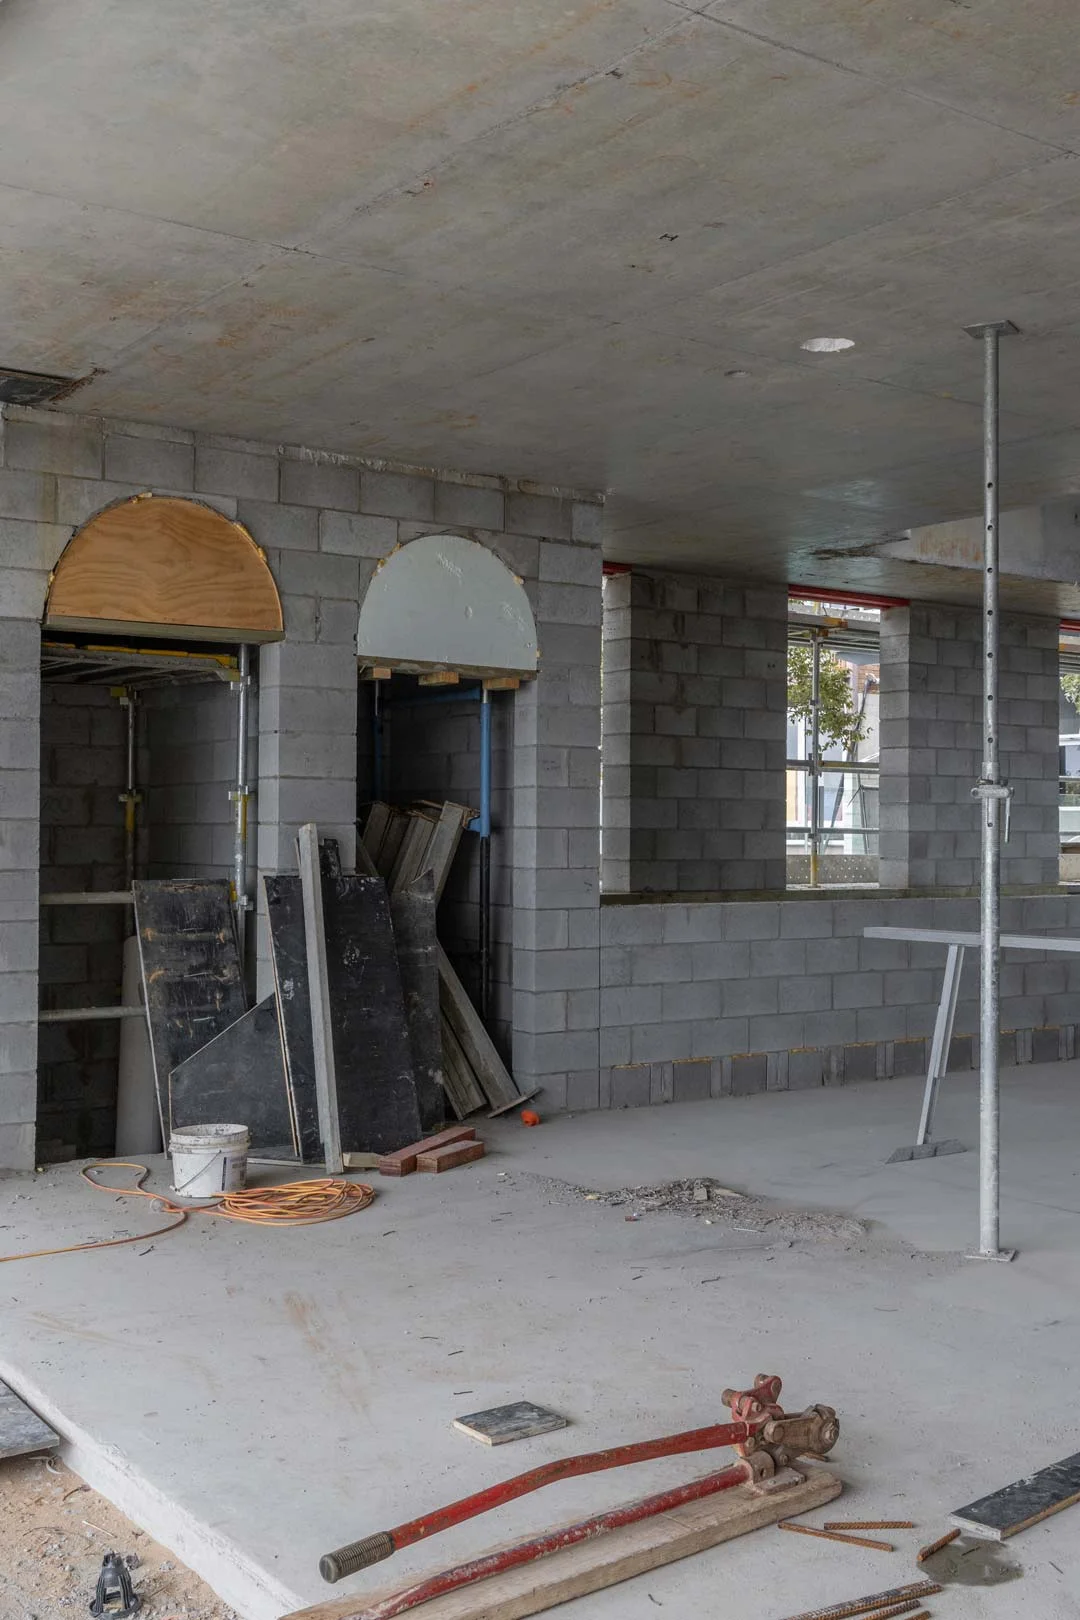
Stage two of renovating is all about getting the site ready for construction, including moving out furniture or relocating altogether, demolition, and ordering materials. For a simple room renovation plan where no demolition is to occur, this process may involve stripping paint, taping up windows, or ripping up carpet. For larger-scale projects, this may involve removing walls, digging up pipework, or, in extreme cases, bringing in an excavator or an engineer to fix any support structures.
Once the space has been cleared and completely gutted, it is time for stage three in your house renovation timeline — the rough-in stage.
Stage 3: Rough-In

The rough-in stage is a critical phase of the reno timeline where the basic framework and infrastructure of the building are installed but not yet finished. This stage occurs after the demolition and structural framing but before the walls, ceilings, and floors are closed up with drywall or other finishes.
Key tasks during the rough-in stage include:
Plumbing: Installing pipes for water supply, drainage, and waste systems. This includes setting up connections for sinks, toilets, showers, and other fixtures.
Electrical: Running electrical wiring throughout the structure for lighting, outlets, switches, and appliances. This also involves setting up the electrical panel and ensuring all wiring complies with safety codes.
HVAC: Installing ductwork, vents, and any necessary piping for heating, ventilation, and air-conditioning systems.
Framing: Ensuring all walls, floors, and ceilings are properly framed to support the necessary systems and finishes.
The rough-in stage is essential for ensuring that all systems are correctly placed and functional, allowing for a smooth transition into the finishing stages of a renovation.
This stage of the reno timeline typically spans from three weeks to two months, or longer for full-home renovations. Each task is handled individually by professional tradespeople, and unforeseen setbacks, such as waiting for materials or busy schedules, can extend this period.
Stage 4: Construction

The construction phase is where the project starts to come together and should be given the most time to ensure it is completed correctly.
For medium to large-scale renovations, we recommend allocating six to eight months as a minimum in your reno timeline. For smaller projects, such as a kitchen or bathroom renovations, the construction stage shouldn’t be any longer than one to three months.
“I always build in a buffer for the unexpected,” says Brad Smith, CEO and Lead Designer at Omni Home Ideas. “Whether it's a delay in materials or a design pivot, having contingency time ensures that the project stays on course without compromising the end result.”
During the construction stage of a renovation, expect several key activities and changes as the project progresses from rough-in to completion.
A general overview of what to anticipate includes:
Structural Work:
– Finalising any framing and structural modifications.
– Installing beams, supports, and any additional structural elements.
Mechanical Systems Installation:
– Completing the installation of plumbing, electrical, and HVAC systems that were roughed in.
– Installing fixtures, outlets, switches, and connecting HVAC units.
Insulation and Drywall:
– Adding insulation to walls, ceilings, and floors for energy efficiency and noise reduction.
– Hanging, taping, and finishing drywall to create the basic interior surfaces.
Flooring Installation:
– Laying down the subfloor and final flooring materials, such as hardwood, tile, carpet, or laminate.
– Ensuring floors are level and properly secured.
Interior Finishes:
– Installing trim, moulding, and baseboards.
– Painting walls and ceilings.
– Adding decorative finishes like wallpaper or textured surfaces.

Cabinetry and Countertops:
– Installing kitchen and bathroom cabinets.
– Fitting countertops and ensuring they are properly sealed.
Fixtures and Appliances:
– Installing sinks, toilets, bathtubs, showers, and other plumbing fixtures.
– Setting up appliances such as stoves, refrigerators, dishwashers, and washers/dryers.
Doors and Windows:
– Installing or replacing doors and windows.
– Ensuring proper insulation and sealing around frames, as well as sealing relevant wet rooms.
Exterior Work (if applicable):
– Completing any exterior renovations, such as siding, roofing, or landscaping.
– Installing decks, patios, or other outdoor structures.
To ensure that the space looks as you envisioned, James suggests that you or the site manager regularly visit the site during the construction phase “to monitor progress and make adjustments as needed."
Stage 5: Finishing Touches

The last and undoubtedly most exciting stage of your renovation process is the final phase — where all the finishing touches come together.
However, before you get ahead of yourself, it is essential to perform quality checks to guarantee that each aspect of the new space meets your local building standards and is free from faults. Brad recommends performing a quality check before and after formal handovers to ensure contractors can promptly address any issues.
“Look for potential cracks and long-term issues,” he says “Additionally, make note of any adjustments or improvements that may be needed and address them accordingly.”
Once your quality checks are completed — you can enjoy your newly renovated space with peace of mind.

Regardless of a project's size, renovations are significant and can be overwhelming tasks. However, when completed with attention to detail and precision, the effort is well worth your while and will substantially impact your life.
“Patience and precision are my guiding principles throughout this journey,” says James. “The goal is always to create a space… that stands as a testament to quality and craftsmanship.”
Did you face any setbacks or discover valuable expert advice during your recent renovation? Let us know in the comments!
Planning a bathroom renovation? Read Bathroom Renovations: Bathtub, Shower, or Both to ensure you make the best choice for your new space.


